Fun with Arduino

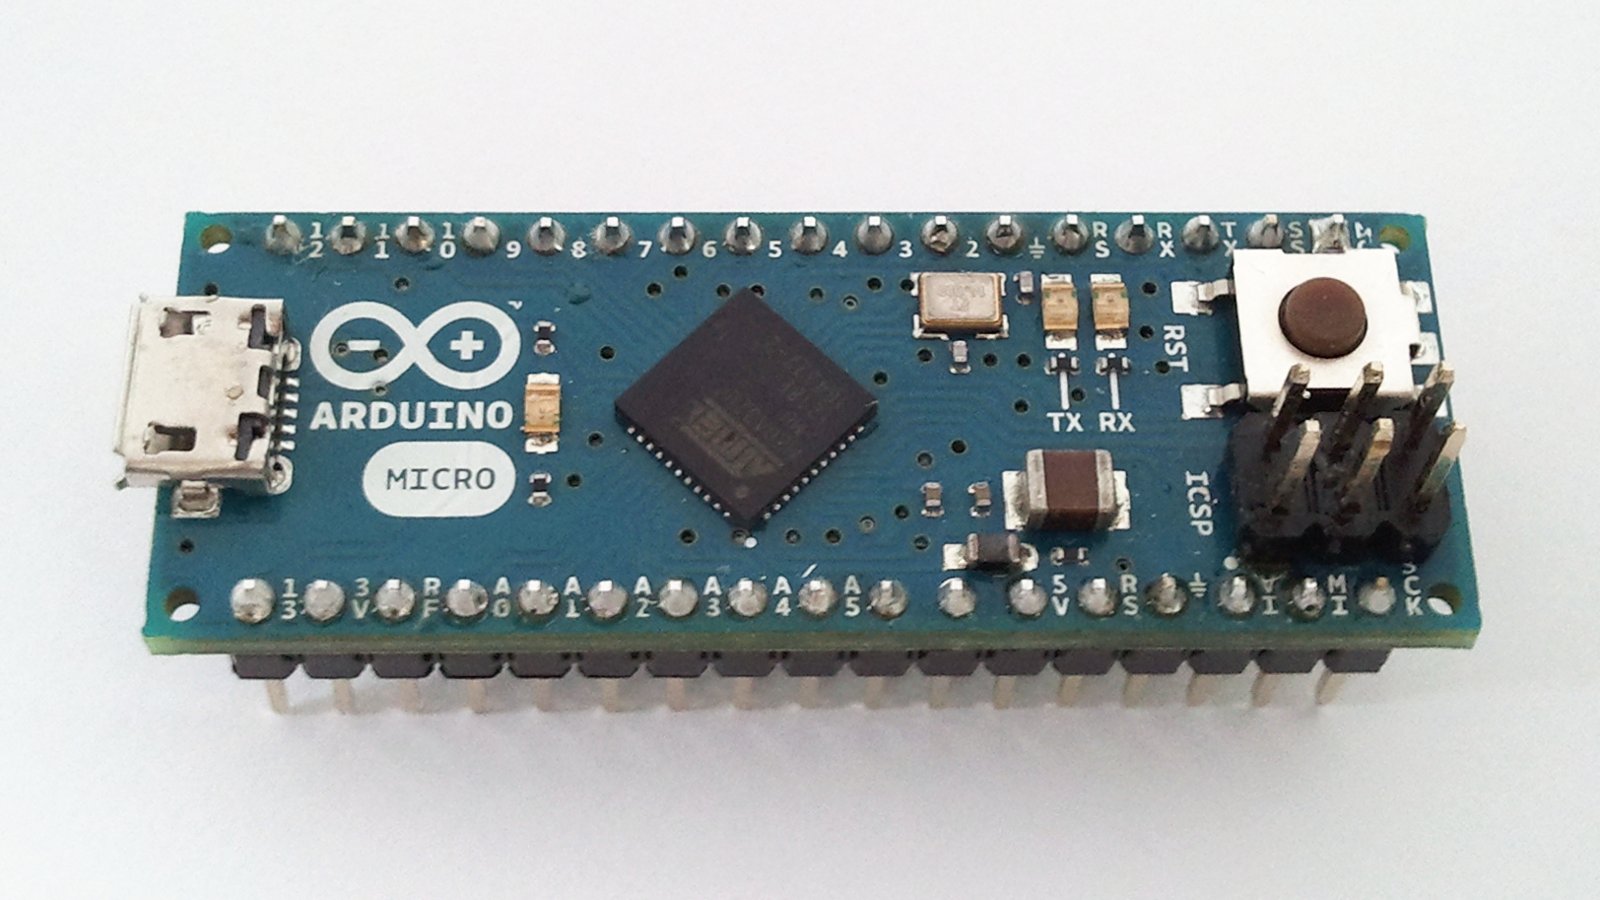
I just bought my first Arduino board! You’ll get the microcontroller in a small card-box without any documentation, but it is not a big deal. (and hey, it costs just €24,99!)
For the science and justice I bought a mid-sized breadboard, a PSU (3-12V), some cables, resistors and LEDs… If you doesn’t have micro-USB cable, don’t forget to grab one too.
Nice, but… Whattahell is this thing?
The Arduino Micro is a microcontroller board based on the ATmega32u4. It has 20 digital input/output pins (of which 7 can be used as PWM outputs and 12 as analog inputs), a 16 MHz crystal oscillator, a micro USB connection, an ICSP header, and a reset button. It contains everything needed to support the microcontroller; simply connect it to a computer with a micro USB cable to get started. It has a form factor that enables it to be easily placed on a breadboard.
Cool, but can it make me a coffee?
Technically if you can draw an flowchart about the coffee-making process, then sure. Lemme’ hear about your Arduino coffee machine!
How it works?
The whole process is really straightforward and intuitive.
You can get the whole IDE (Development Environment) for free at the Arduino website. Through an easy install process (Java required) you’ll get everything what required for your smartCoffeeMachine.
As the Arduino board sports micro-USB header no PIC-flasher required. It will show up as a USB serial port in your OS.
The IDE comes with many example program and as your Arduino have on-board LED, you can test your new toy without any big investment. So i made a really complex connection: a blinkin’ LED on my breadboard. Awesome!
As expected from a microcontroller, you cannot sing or dance what do you want, so get all of your C-programming skills, ‘cause you’ll need to program this thing to get the expected results. But don’t panic: as you can see here the tutorials are nice written, easy to understand. I’m sure it cannot make problem for a 8 years old to follow the tutorials and the result is guaranteed. Great things!